

How to Seal a Garage Gym Floor (Before Your Gym Flooring Arrives)
If you’re building a garage gym, sealing the concrete floor is one of those jobs that’s easy to skip — but it can make a huge difference to how your space looks, feels, and lasts.
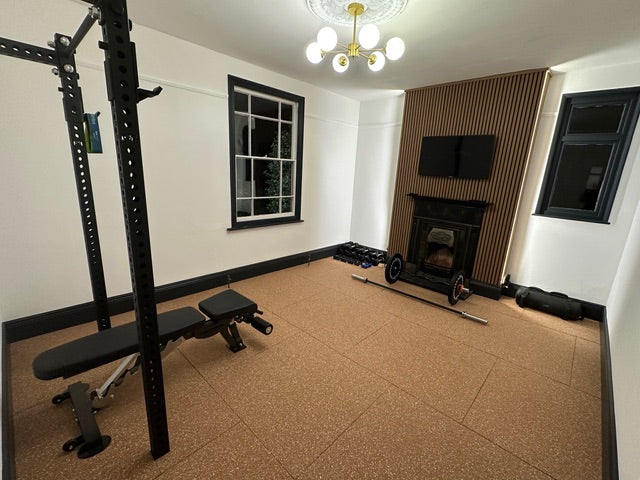
Doing it before your gym flooring arrives is ideal: the garage is empty, you can prep properly, and you’re not trying to work around heavy tiles, racks, or equipment.
This guide covers what sealing does, when you should (and shouldn’t) do it, and a simple step-by-step process.
Why seal a garage gym floor?
A good concrete sealer helps with:
-
Dust control: unsealed concrete sheds fine dust that ends up on your kit and in the air
-
Moisture resistance: garages can be damp; sealing helps reduce moisture coming through the slab
-
Easier cleaning: sealed floors mop and wipe down far more easily
-
A better finish: even if you’re covering it with rubber tiles, a sealed base feels more “finished”
It’s not mandatory, but if you’ve got the time, it’s one of the best prep steps you can do.
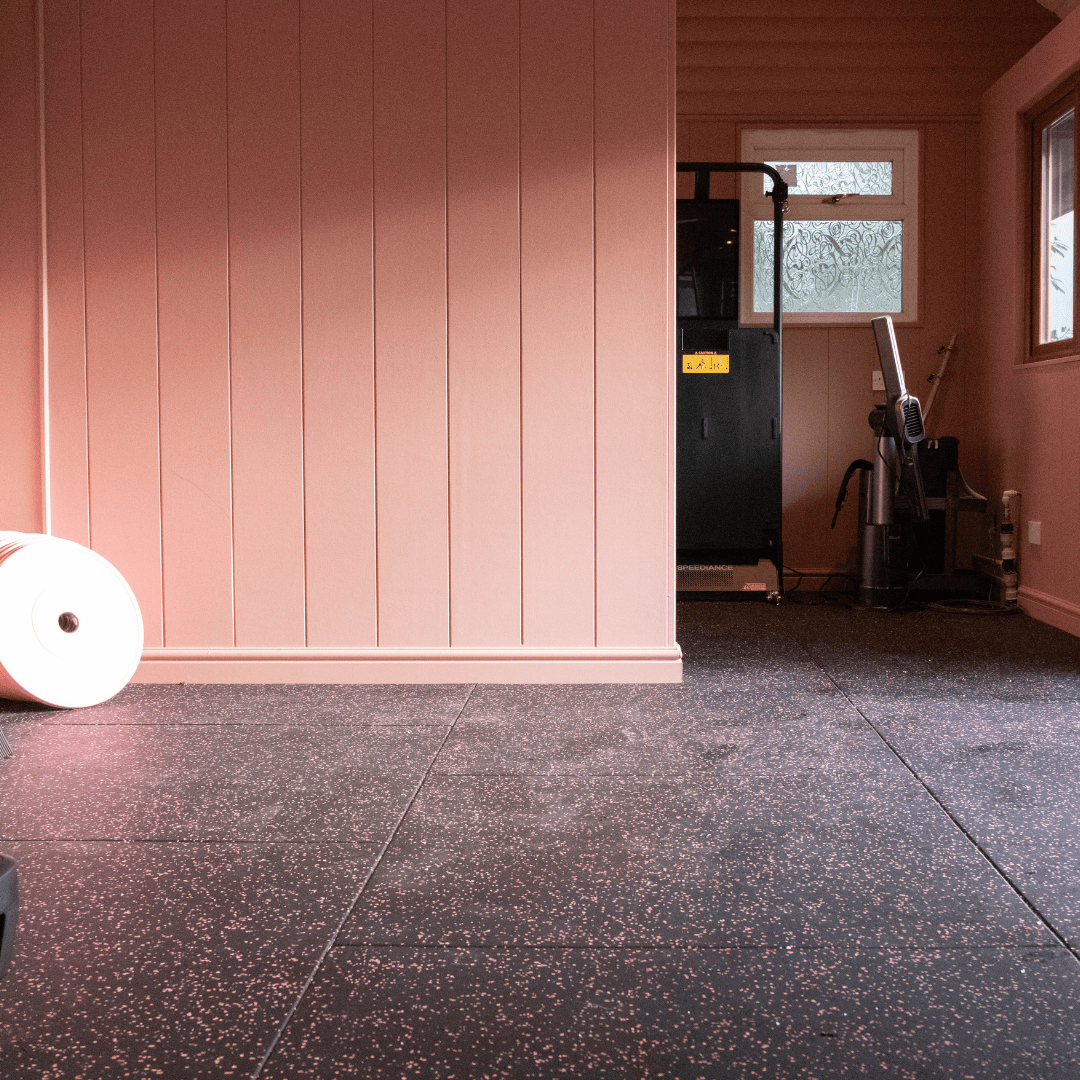
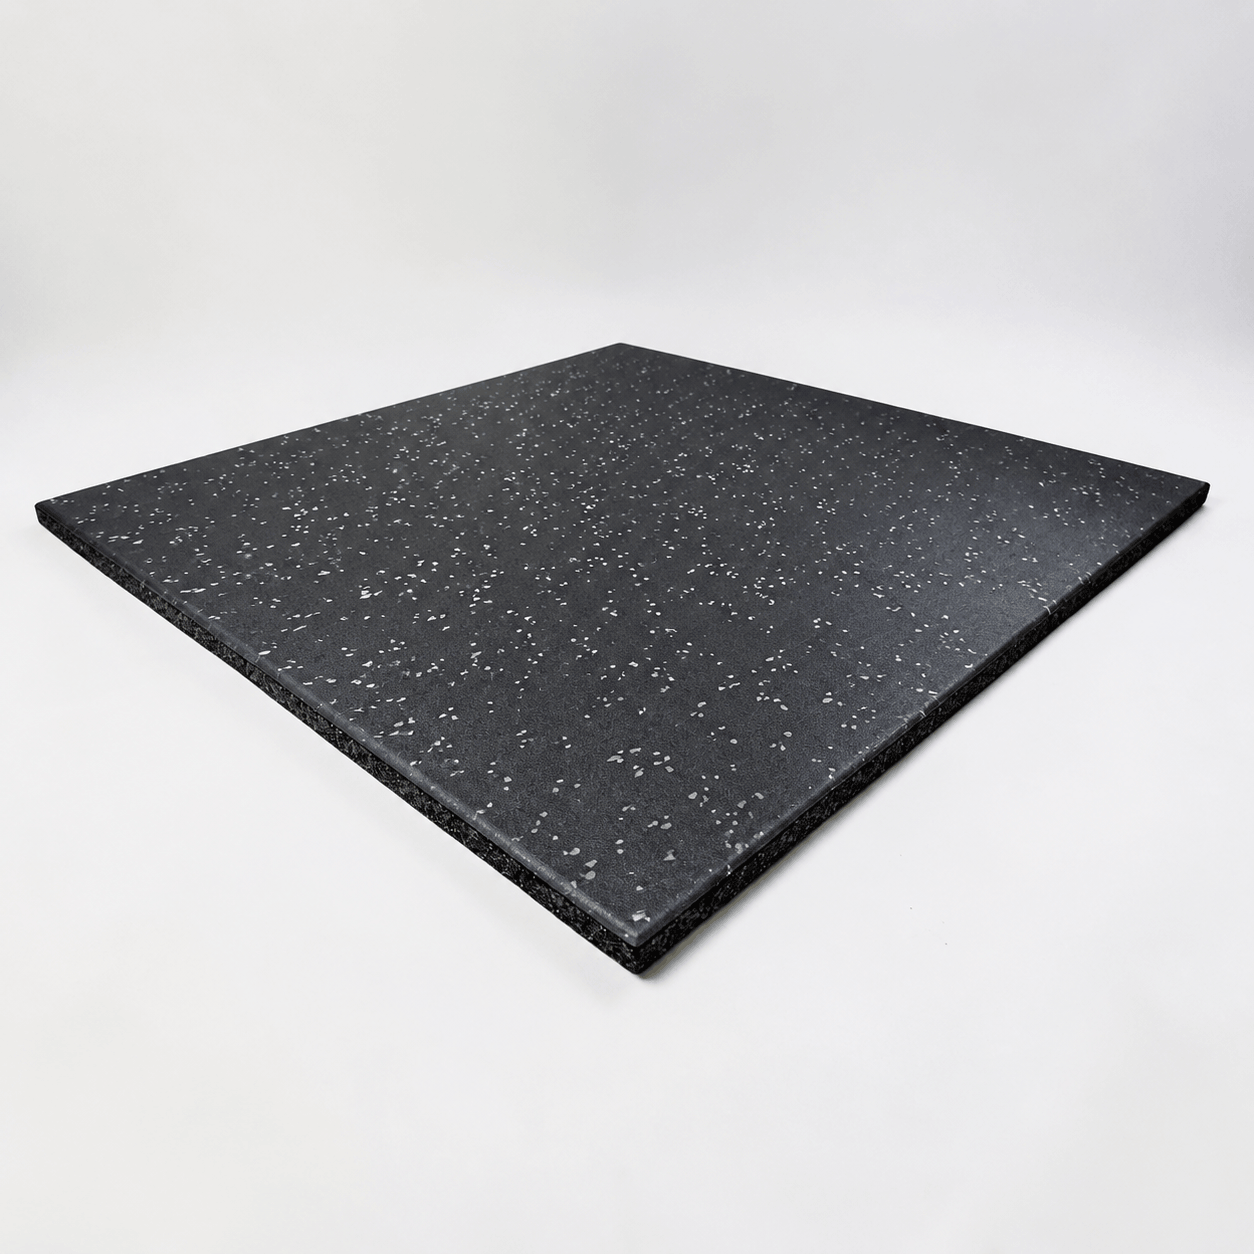
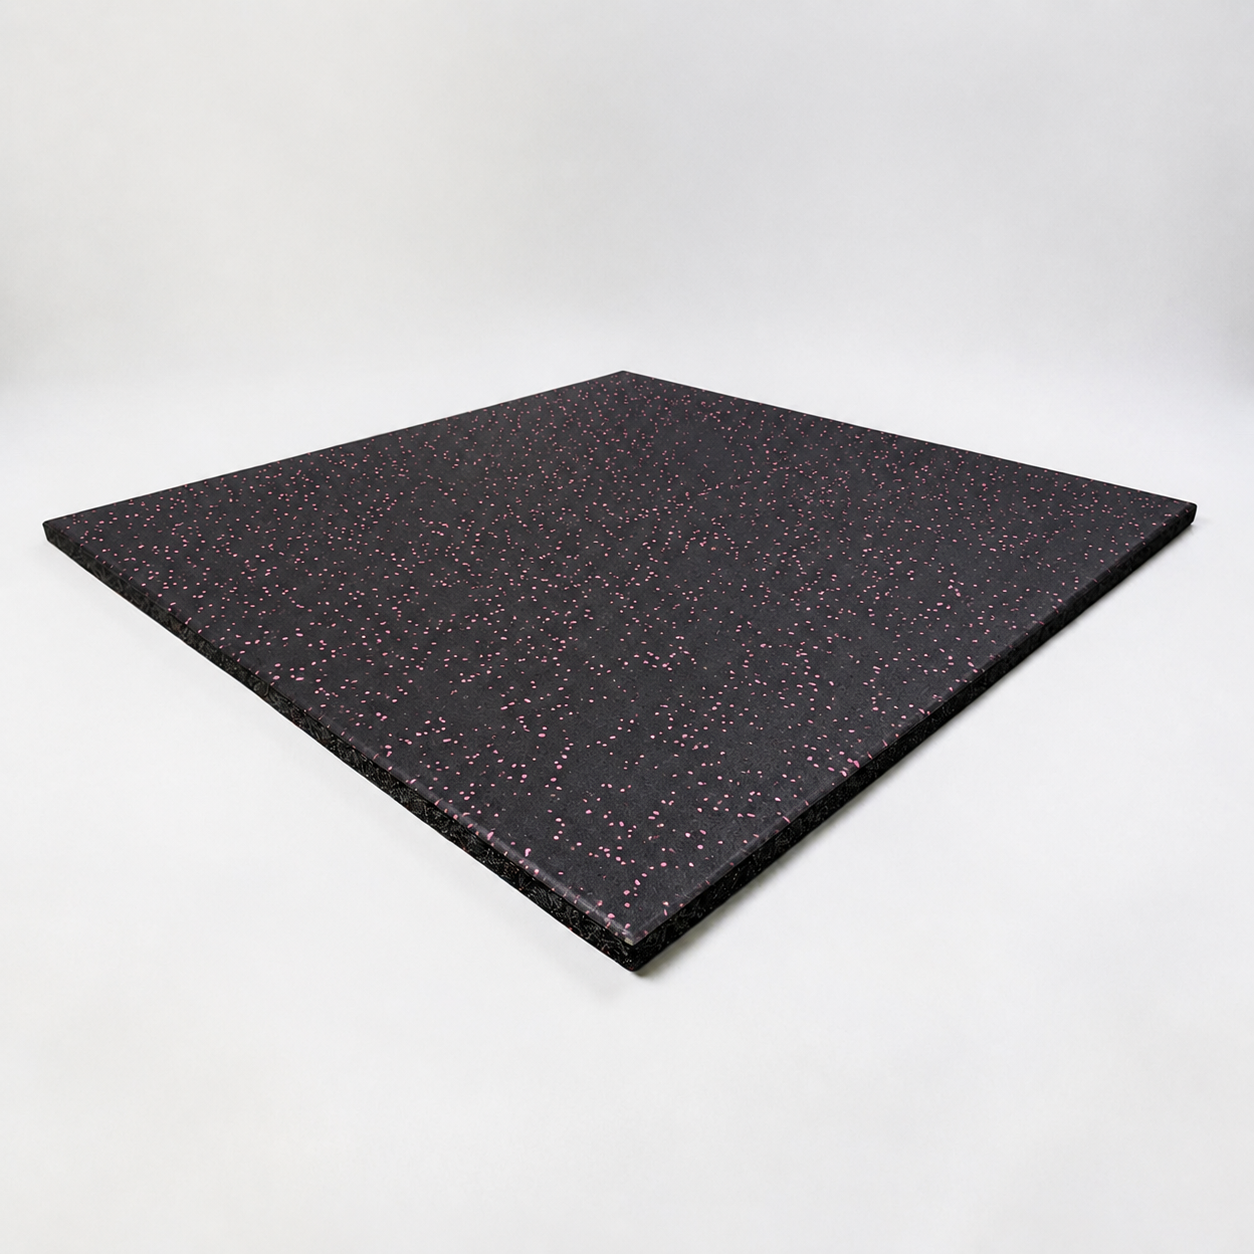
Should you seal it if you’re laying rubber gym flooring?
In most home garage gym setups, sealing is a net positive — especially if:
-
Your concrete is dusty/chalky
-
You’ve had mouldy smells or damp patches in winter
-
You want the cleanest possible finish under the tiles
However, if you have serious damp issues (standing water, constant wet patches, visible water ingress), sealing alone won’t fix the root problem.
The Perfect Prep (simple checklist)
-
Broom + vacuum
-
Degreaser / concrete cleaner (not really needed)
-
Bucket + stiff brush or mop
-
Concrete filler/repair compound (for cracks/pits)
-
Sandpaper or grinder (optional, for high spots)
-
Roller + tray + paint brush (for edges)
-
Concrete sealer (choose one suitable for garages)
-
Gloves + mask + ventilation
Step-by-step: sealing your garage gym floor
1) Clear the space and check the concrete
Remove everything you can and do a quick inspection:
-
Cracks
-
Chips/pitting
-
Oil stains
-
High/low spots
-
Any sign of moisture coming through
If you can, do this on a dry week so the slab has time to breathe.
2) Clean properly (this is the part that matters)
Sealer sticks to clean concrete — not dust, oil, or old residue.
-
Sweep thoroughly
-
Vacuum the whole floor
-
Use a concrete cleaner/degreaser on any stained areas
-
Rinse if required by the product instructions
-
Let the floor dry fully
If you rush this, the sealer can peel or patch.
3) Repair cracks and holes
Small cracks and pits are normal in garages.
-
Fill cracks/holes with a suitable repair compound
-
Let it cure fully
-
Sand down any proud areas so the surface is flat
You don’t need perfection, but you do want a smooth base so your tiles sit flush.
4) Do a quick moisture sense-check
A simple sanity check: if the floor feels damp, smells musty, or looks darker in patches, pause and investigate.
Sealing a wet slab can trap moisture and cause problems later.
If you’re unsure, it’s worth waiting for a dry spell or getting advice based on your specific garage.
5) Apply the sealer (thin, even coats)
Follow the product instructions exactly, but the general approach is:
-
Cut in the edges with a brush
-
Roll the main area in thin, even coats
-
Avoid puddles (they dry unevenly)
-
Let it dry for the recommended time
-
Apply a second coat if recommended
Ventilation matters — keep the garage door open and allow airflow.
6) Let it cure fully before laying gym flooring
Dry-to-touch isn’t the same as cured.
Give it the full cure time so you’re not trapping solvent smells or soft sealer under rubber tiles.
As a rough rule, plan for:
-
Cleaning + repairs: 1 day
-
Sealing: 1 day
-
Cure time: 1–3 days (depending on product and temperature)
Common mistakes to avoid
-
Sealing over dust (it won’t bond properly)
-
Sealing over oil stains without degreasing
-
Applying thick coats (leads to patchy curing)
-
Sealing when the slab is damp
-
Laying tiles too soon (traps odours and can mark the finish)
Quick tip: seal the perimeter even if you don’t seal the whole floor
If you’re short on time, sealing the edges/perimeter can still help reduce dust and make the garage easier to keep clean.
Where to buy concrete sealer?
Most UK DIY places will sell this.
- Screwfix / Toolstation – easiest for most people; good for rollers, trays, degreasers, crack repair too.
- B&Q / Wickes / Homebase – convenient if you’re already grabbing prep materials.
- Trade Paint suppliers (local decorator centres) – often better advice and more hard-wearing options.
- Online specialist brands (direct websites / Amazon) – good if you already know exactly what product type you want.
Rough cost to seal a single garage (materials)
- Budget sealer: ~£40–£80 total
- Mid-range / better durability: ~£80–£150 total
- Premium / heavy-duty systems: ~£150–£250+ total
Want help planning your flooring layout?
If you’re ordering from GGF and you want a clean, pro finish, send us:
-
Your garage measurements
-
A quick photo of the space
-
What training you do (and whether you drop weights)
We’ll help you choose the right setup — and make sure your floor prep and tile plan match.